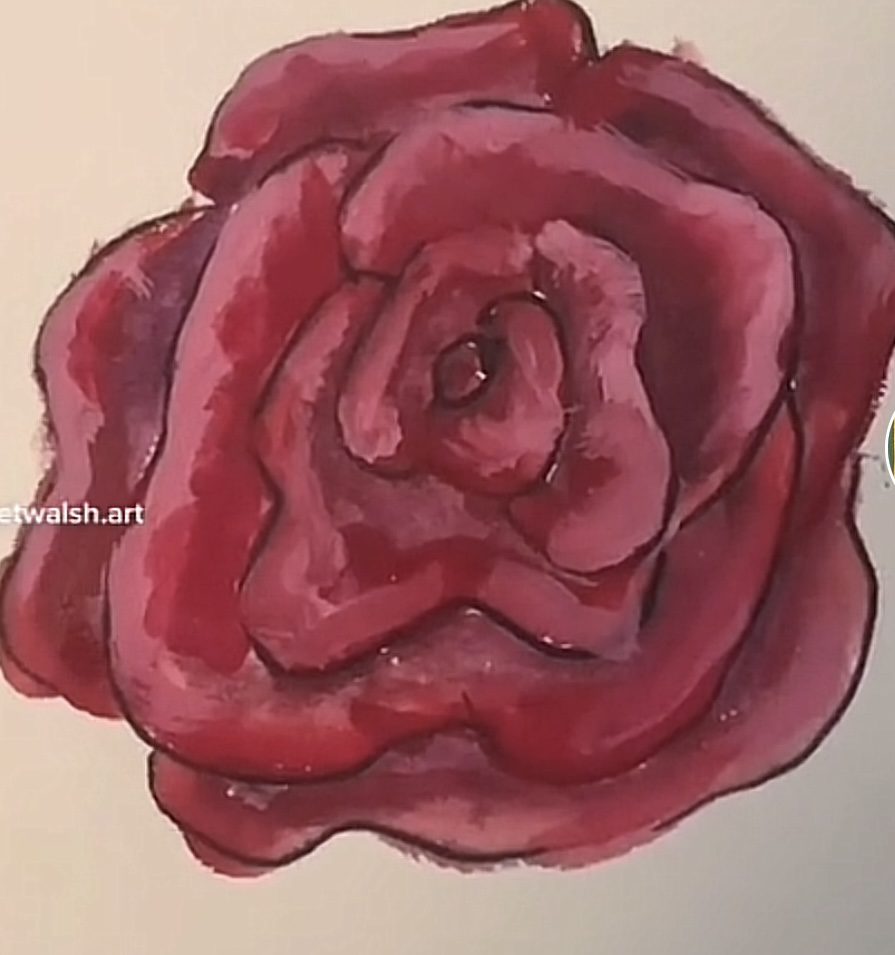
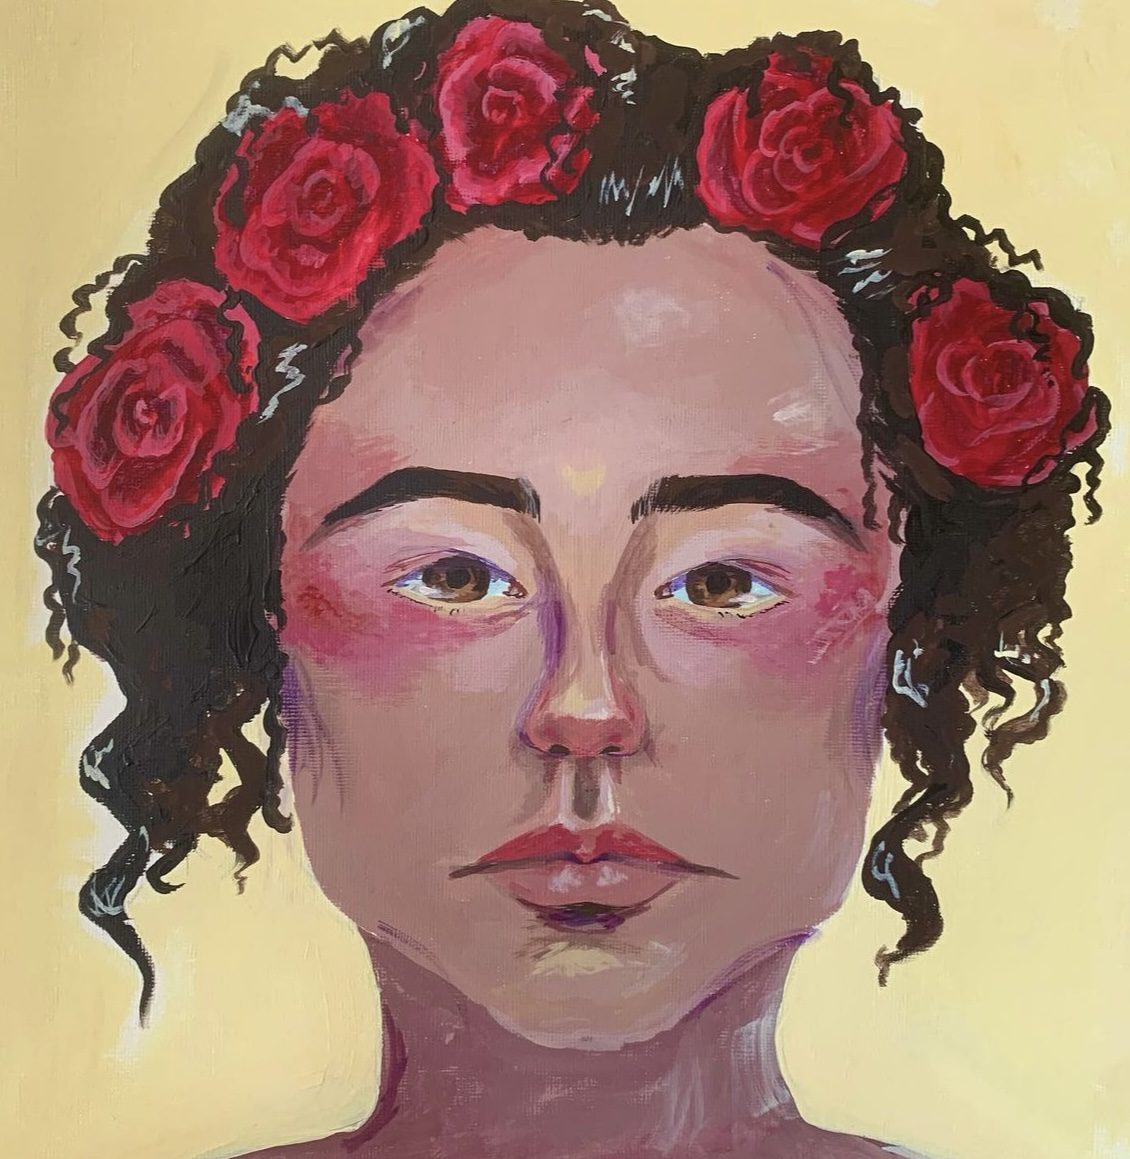
Painting roses can be very fun to learn as an artist, and teaches you the basics in different values easily. When I paint roses (that are not incredibly detailed) there are only a few steps that will give you the desired look! Here is how to paint a rose in simple steps for beginners.
In this post, I use a darker color base. Another option is to use a lighter spring color palette as well.
The rose that I will be doing a tutorial on is front facing, meaning that you cannot see the under petals or the stem. I will also be using gouache paint, but this method works well with oil and acrylic as well!
Step 1: Map Out Your Rose
I typically use squiggly “c” shapes that form around a larger circle. For the sake of reference here, I am using a ballpoint pen to clearly show where the line work is.
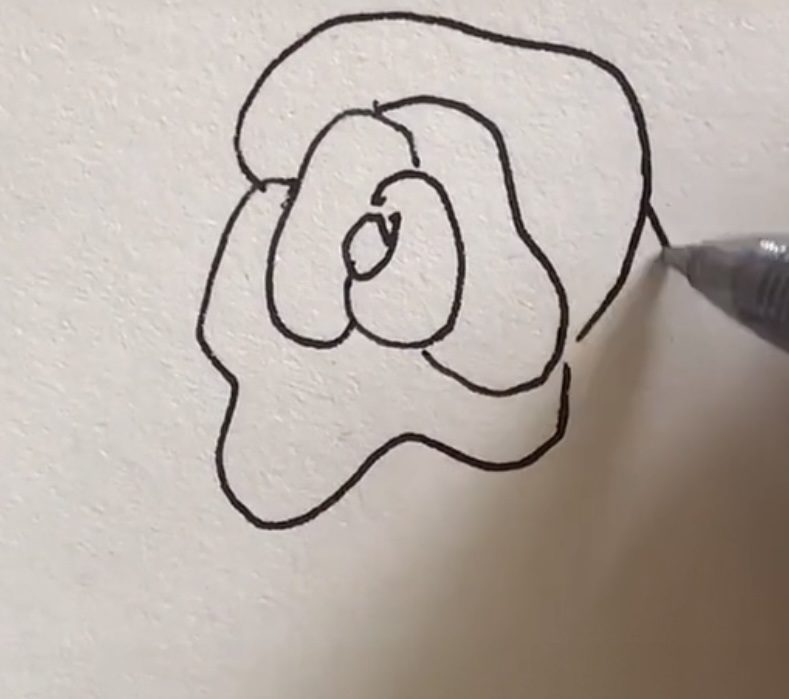
You can really make it as large or small as you would like.
Step 2: Start With Your Darkest Color
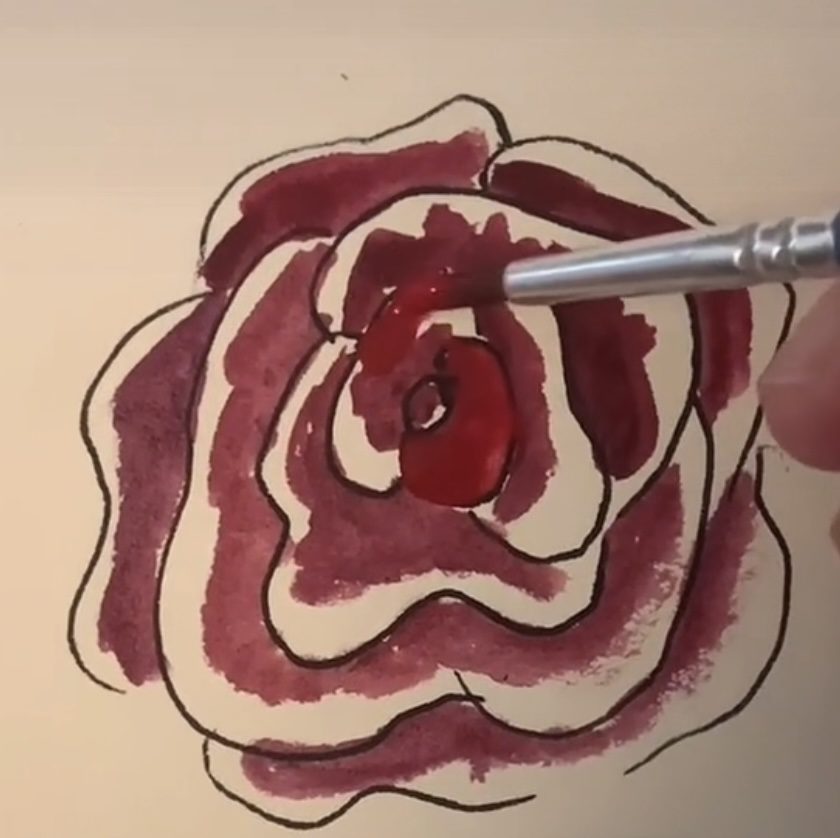
Next, this is where you will begin picking a color scheme for your rose. For the darkest shade, I chose to mix purple and red for a deeper color. You will want to apply this to the inner side of the petals, meaning the side that is hugging the center of the rose.
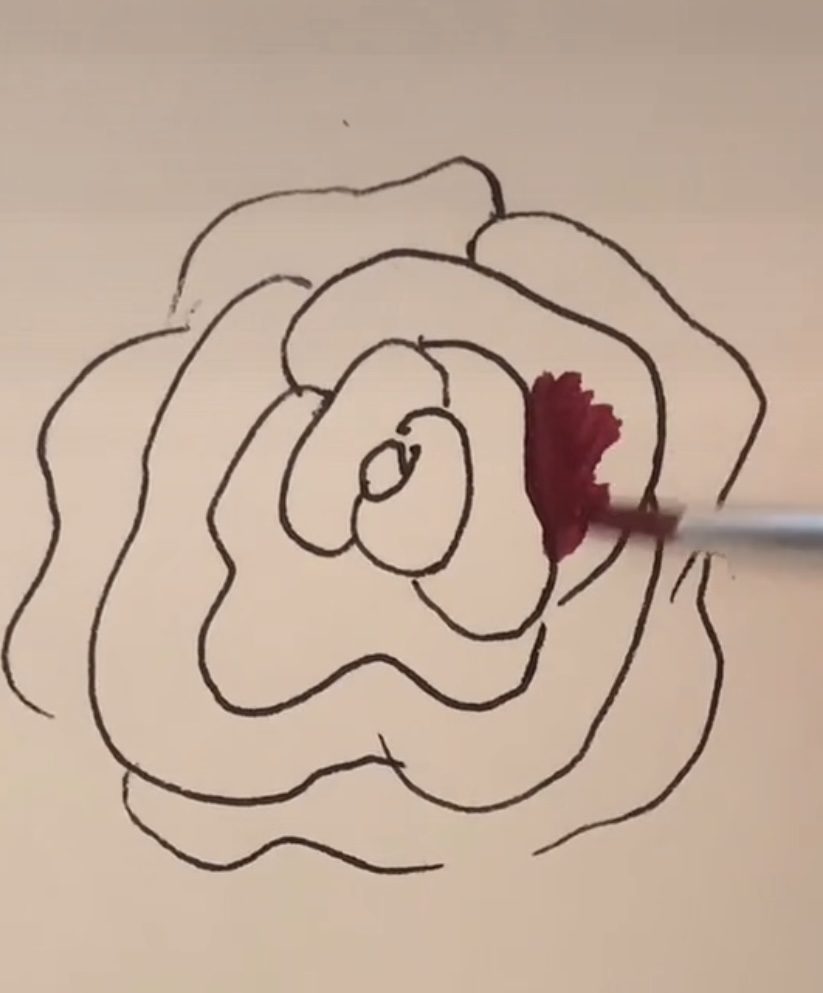
Step 3: Cover the rest of the unpainted areas with your midtone.
The midtone I am choosing to use is a simple red from my Winsor and Newton Gouache Set. At this point, you just want to saturate any areas that are white in the rose with the color you chose.
Step 4: Start forming your highlights.
Next, after the paint has dried from your mid-tone, you will notice that there is a clear difference between the darker areas and the lighter. You are going to want to apply your lighter color (I chose to use a white mixed with the red) to the toppposing side of the petal from the darkest.
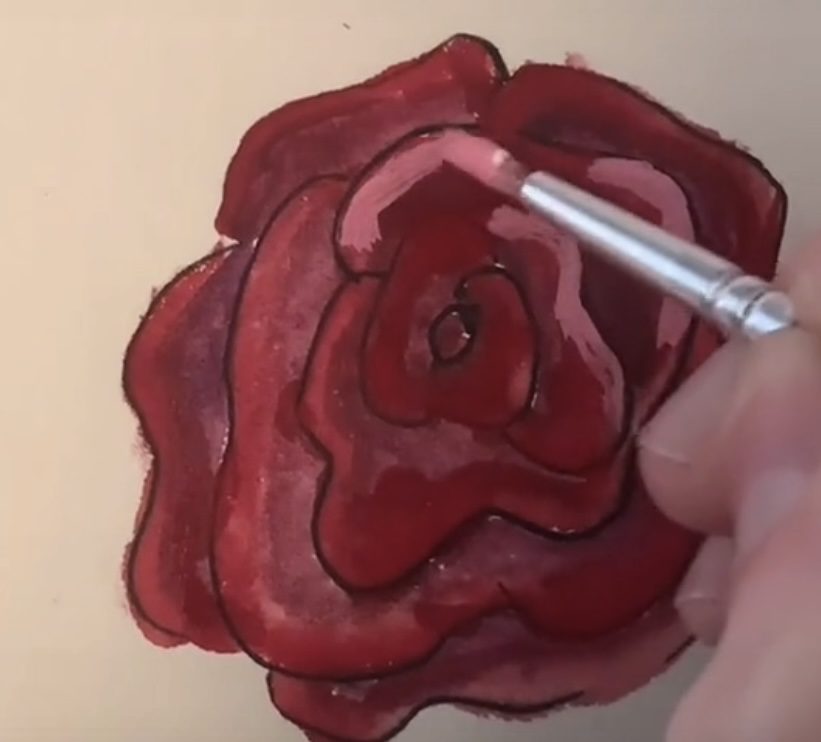
Depending on what look you are going for, you can either try to blend it in to the rest of the petal (which is easier with gouache and oil than it is acrylic) or you can just leave it be! And that is how to paint a rose!
