
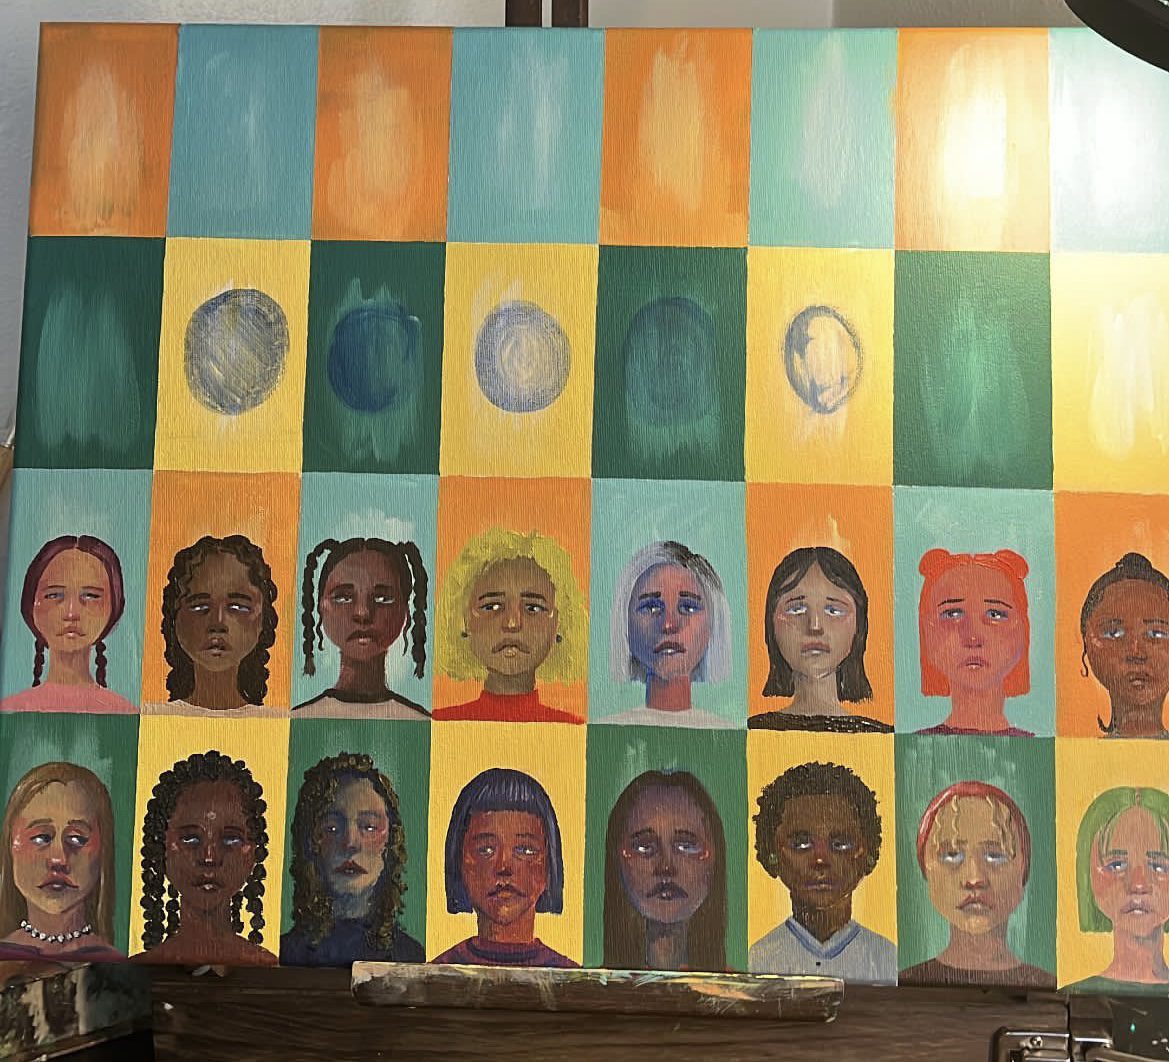
Mini portraits are one of my recent art ventures that I have started. I am currently in the midst of making a paint full of them, to be exact. With my technique, there is a formula that I abide by for how to paint a mini portrait that gives me a similar result (with different features) each time.
If you are someone that likes videos with step by step guides, check out this video on my tiktok.
Today, I will be using oil paint for my portrait with an acrylic background/base.
Step 1: Paint your background
When learning how to paint a mini portrait, it becomes very difficult to paint around your portrait after the fact. I paint my background prior since I am working with such little space.
In this example, I am using an orange background that I painted a few days ago. The background is acrylic paint so that I could section off my areas with them drying quickly.
Step 2: Choose your undertone
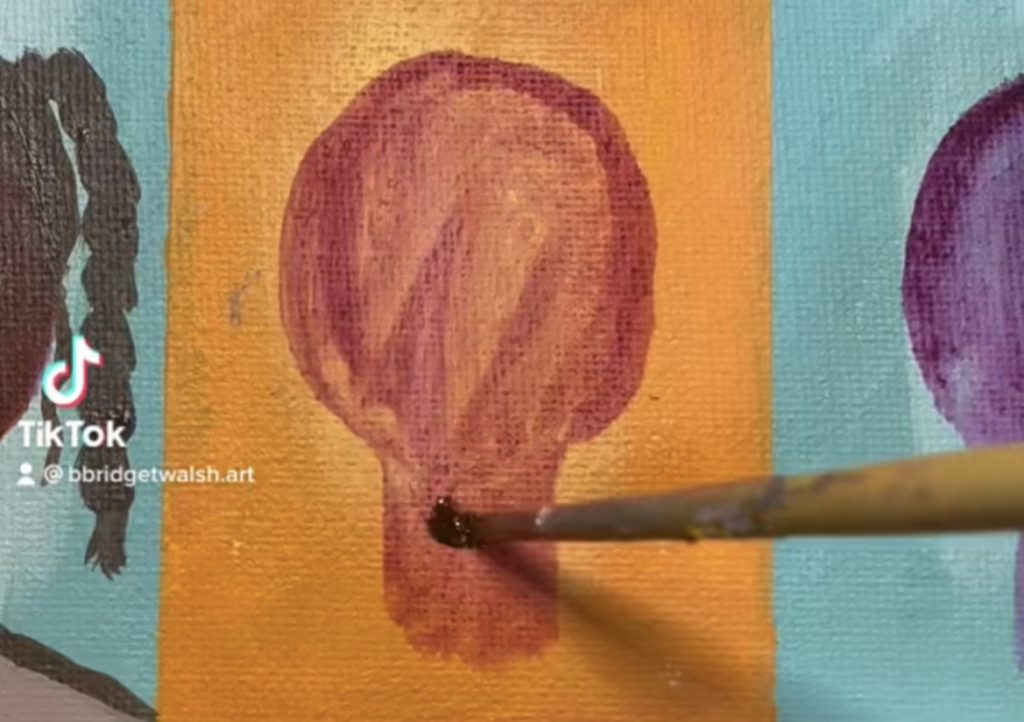
Choosing an undertone for your skin will help you to set out the path for where your face will go. I typically paint with a wash of distilled turpentine and a thin layer of paint to cover the area that the face will be in, including the neck and shoulders if those will be visible.
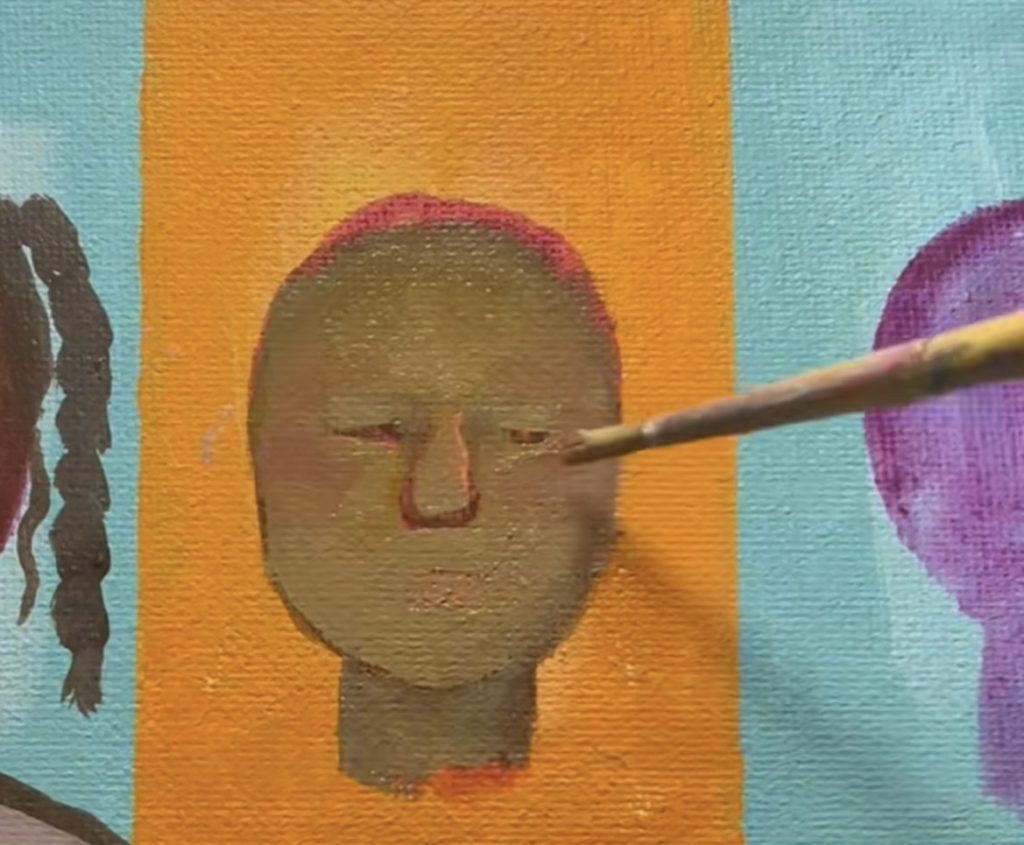
Step 3: Sculpt your facial features
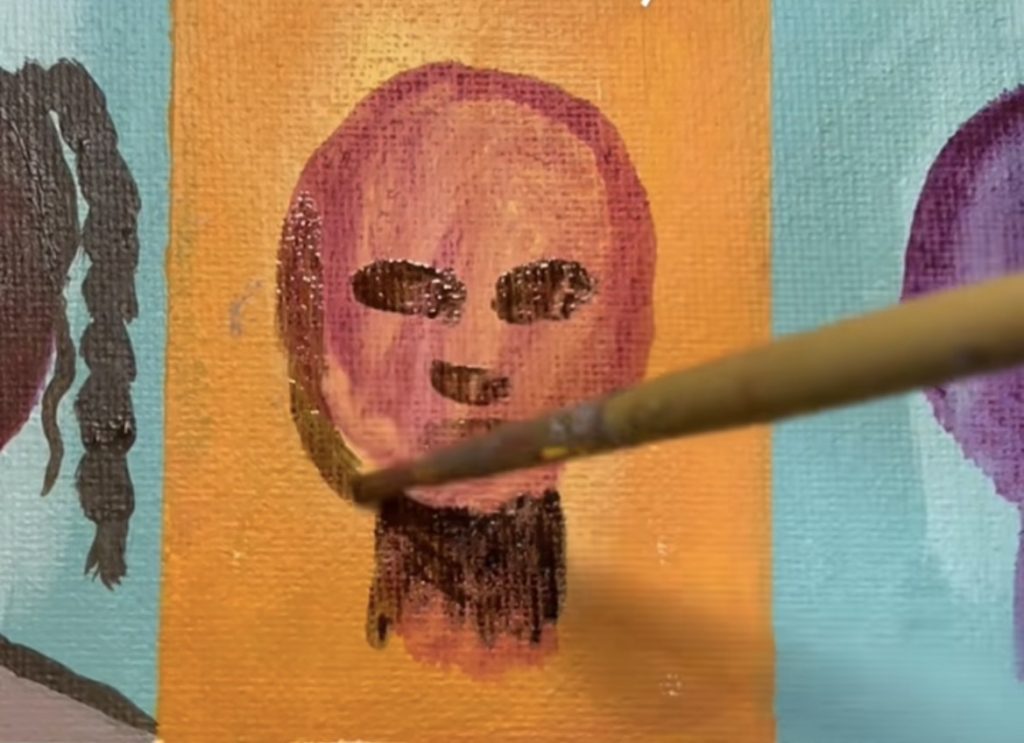
At this point, you are giving yourself a rough outline of where the facial features will go. I usually take the darkest shade that I am planning on using to block in those areas.
Step 4: Block in your highlights and shadows
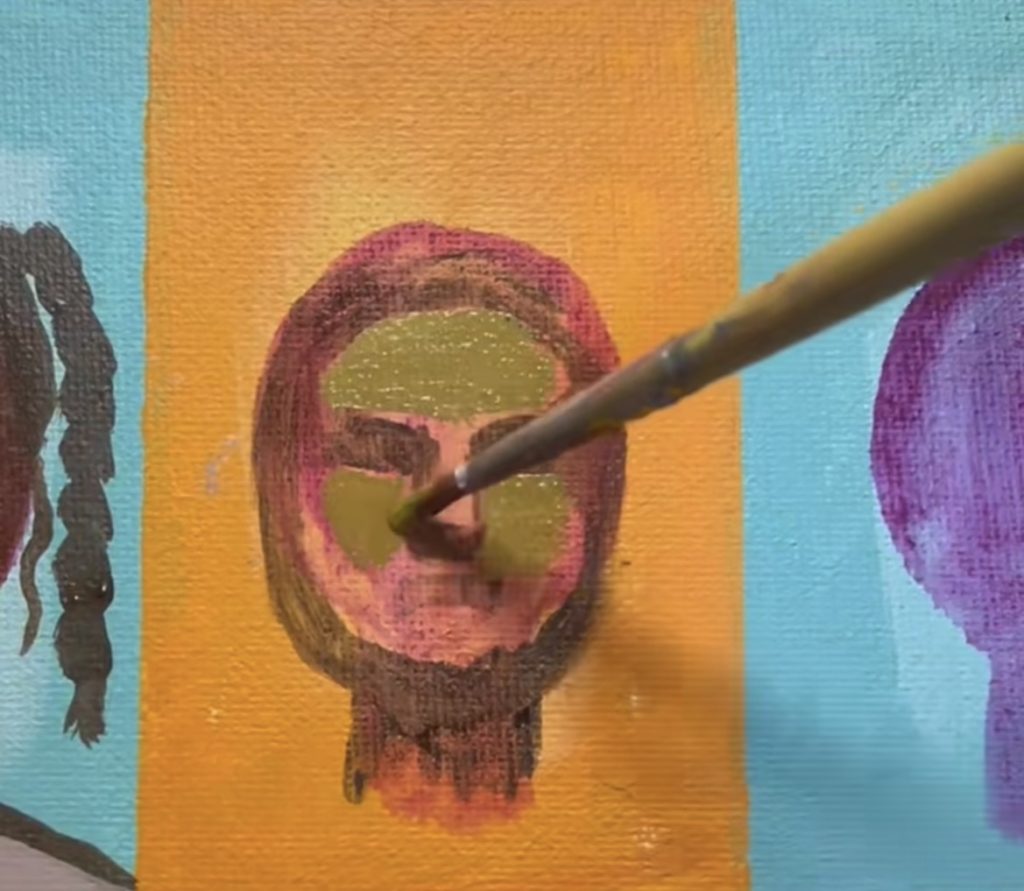
Start to map out which sections of the face will appear lighter (usually the high points such as forehead, nose, chin, cheekbones). As well as the sections of the face that are darker (eyes, hairline/jawline, mouth, underneath nose).
When painting the neck, make sure to add that darker shade to the top of the neck in where it connects to the face to show some differentiation. Use the highlights to blend down into the collar bone and shoulders.
Step 5: Start to merge the highlights and shadows with a mid-tone
Using a midtone will act as your true skin tone in the painting. Be mindful that depending on your background color, mid-tones can look muddy (like above) when they actually do not. Adding some color will help to bring life back into the skin.
I typically like to use a red or a purple for this part because it draws more variation of color into the skin. I will add it to the tops of the cheekbones as well as the nose, sometimes the bottom lip.
Step 6: Paint your facial features
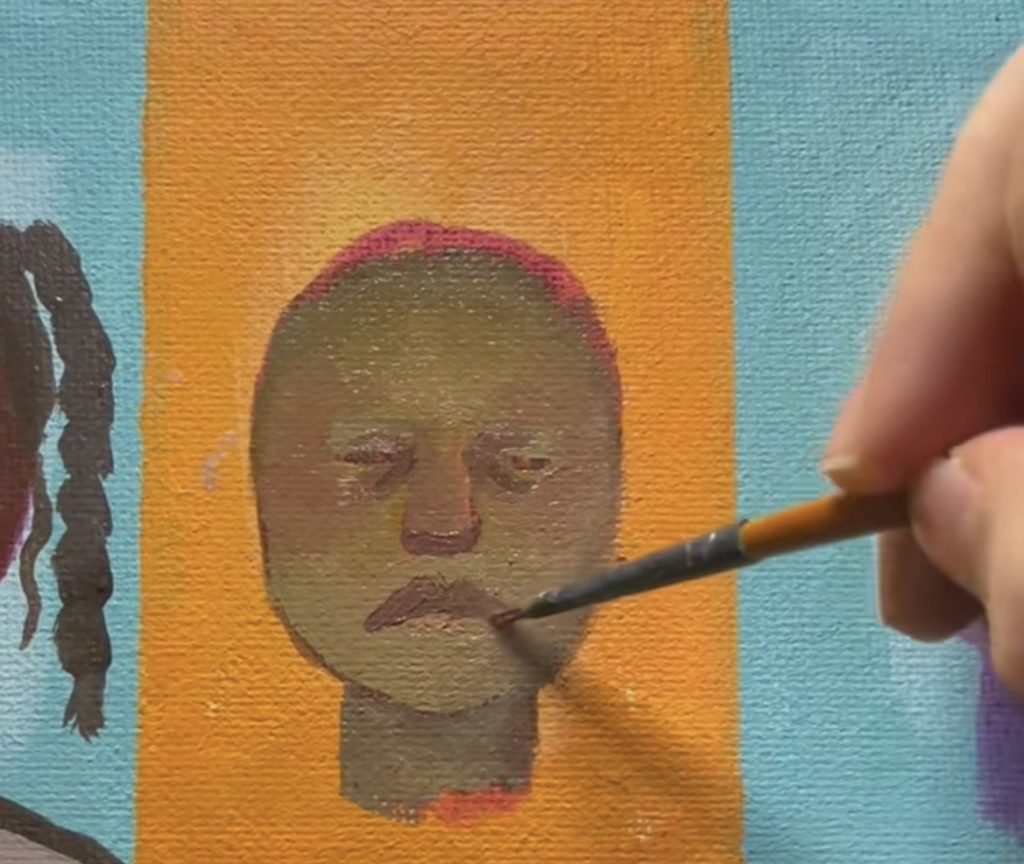
At this point, I usually mix my mid-tone/colorful addition to the skin with one of the darker shades that I used for the shadows of the face. Then, I will mark off the top lip, under-eyes, and shading underneath the nose.
This will create unison between the colors that you are using, and it is quite easy to do because you are blocking in the colors instead of having to shape and blend them.
Step 7: Paint the eyes
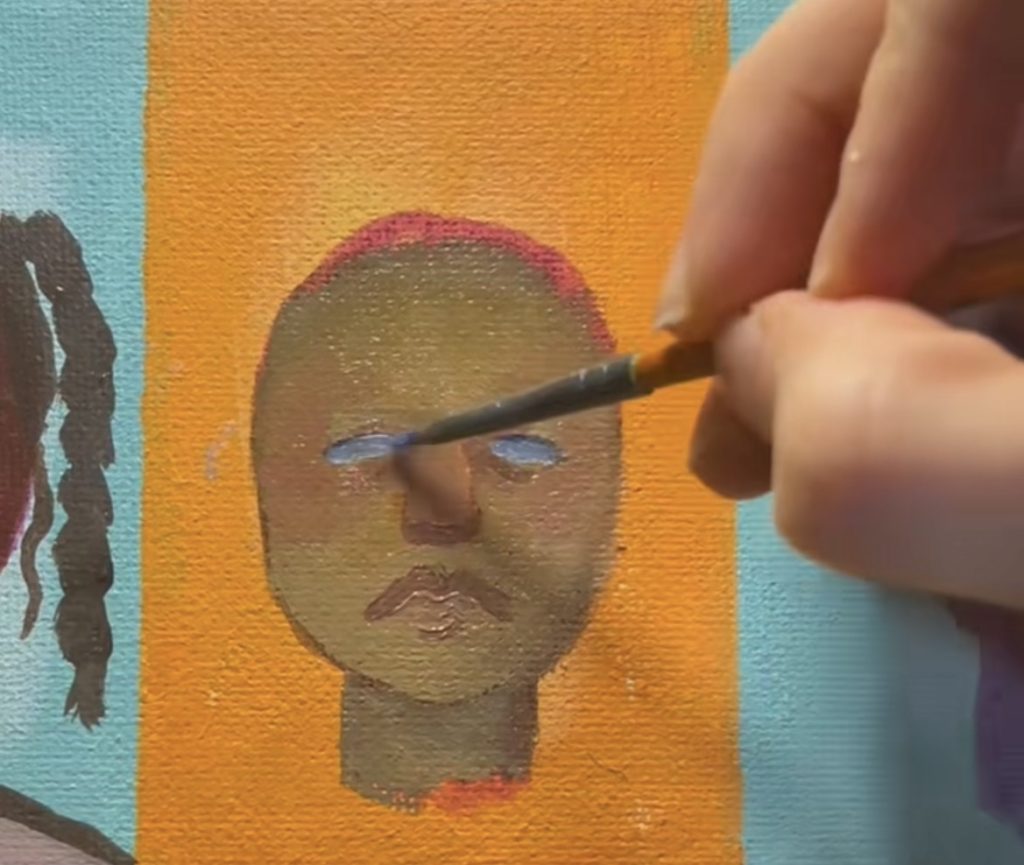
The most important part of painting the eyes is to remember that the whites of eyes are not truly white. I typically mix a Prussian blue with white so that when I am adding my highlights later and I use a true white, it will really pop.
I just fill in/block in the complete space that the eye is going to take up.
An important tip that I do to add more depth to the eye is to run a singular line of darker Prussian blue on the top half of the white of the eye. This creates so much more detail in such a simple way to the eye.
Step 8: Begin adding your facial details
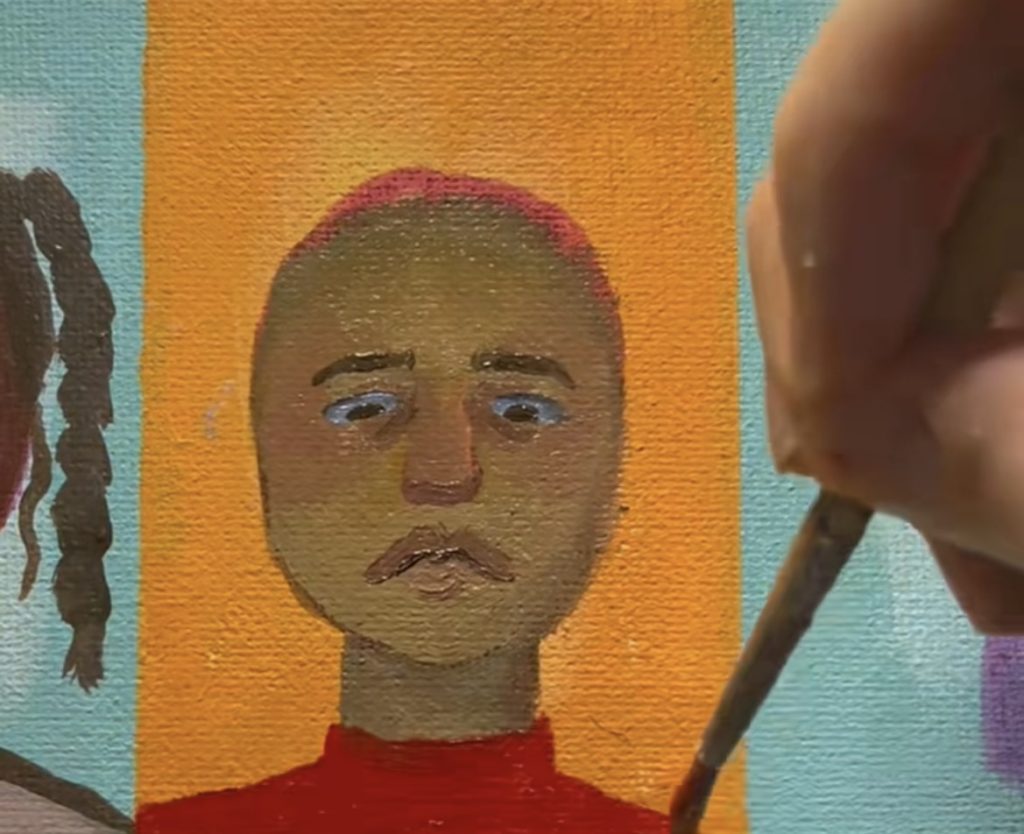
This stage is fairly close to the end of the process. This is where you will want to add your pupils and irises of the eyes, eyebrows, the darkened separation between the lips, and clothing if there is any.
Step 9: Add some hair
Believe it or not, this is actually one of my least favorite parts in mini portraits. I always tend to be nervous about the hair color that I choose, in fear that I will “mess up” the color palette that I already have.
I recommend end choosing a hair color that is either very neutral, or somewhere in correlation with the background color and focus color (in this case, the red of the shirt as well as the red on her cheeks). This will keep you from regretting your color mixing decisions!
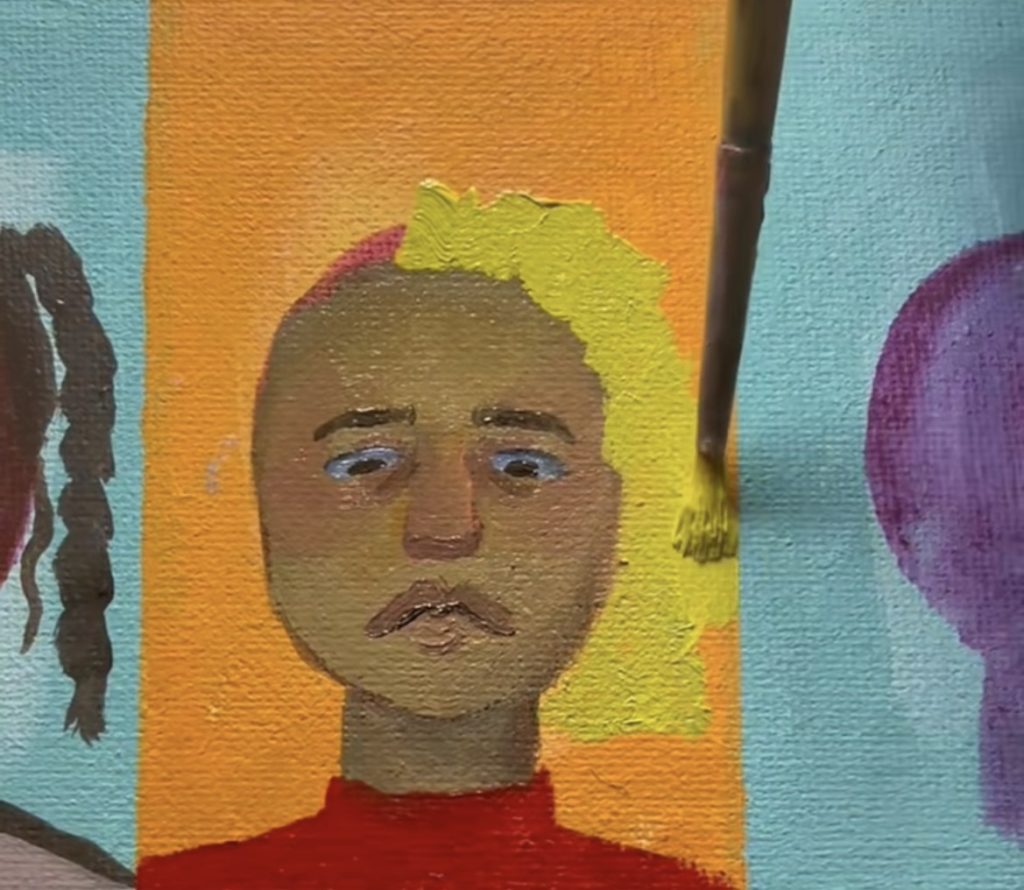
Step 10: Add your finishing highlights and details
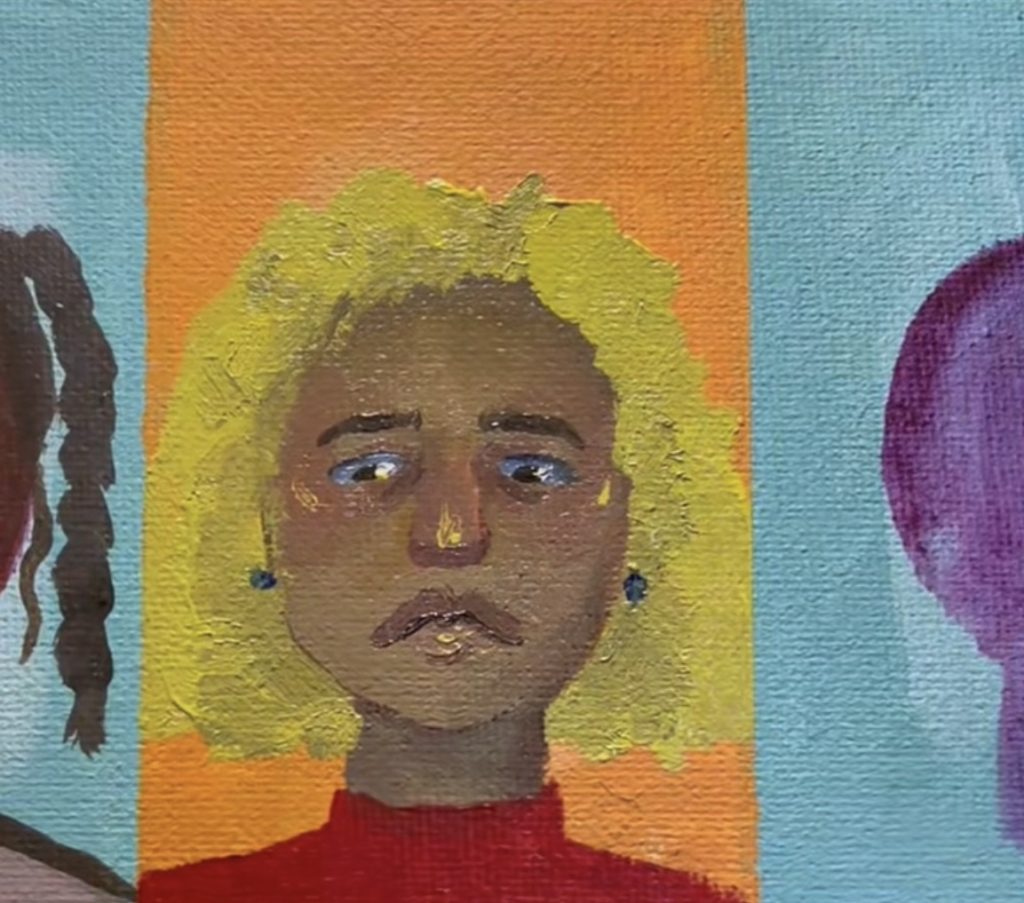
At this point, I choose a highlight color to match (in this case, yellow) that I will add to the top of the cheekbones, tip of the nose, and bottom lip to help liven up the face. I also decided to add some earrings on this girl.
And there you have it! Ten easy steps for how to paint a mini portrait that has a great amount of character.
Comments are closed.