
Drawing with markers can be a fun and creative way to express yourself visually. Whether you’re a beginner or an experienced artist, markers offer vibrant colors and versatility in creating various styles and effects. In this post, I will explain tips for drawing with markers and the best ways they are used.
What were markers originally used for?
Markers have a relatively recent history in the art world, emerging as a popular medium in the mid-20th century. The earliest markers were introduced in the early 20th century and primarily served industrial and commercial purposes. These markers contained dye-based inks and were initially used for labeling, sign-making, and industrial applications.
The invention of the felt-tip marker in the 1960s revolutionized the art world. Felt-tip markers featured a porous felt tip that allowed for controlled and consistent ink flow. This innovation made markers more accessible and versatile for artistic expression.
Artists like Andy Warhol, Roy Lichtenstein, and Keith Haring incorporated markers into their works, creating bold, graphic, and vibrant pieces. The simplicity and immediacy of markers appealed to the pop art aesthetic.
Tip #1: Make sure to select the right paper/canvas
Marker paper typically comes in various thicknesses, but the most common thicknesses range from 50 to 70 lbs. Marker paper is generally lightweight to allow for transparency and prevent bleeding or feathering of marker ink. Thinner marker paper, around 50 lbs (75 gsm), is suitable for lighter marker applications, while heavier marker paper, around 70 lbs (105 gsm), can handle more intense ink saturation and layering without warping or buckling.
The reason why you want a certain thickness is because of the bleed. If the paper is too thin, it might bleed completely through. Also, the paper can get very “pulp”-ey, which means the paper pills.
Also, make sure to keep track of this with your sketchbooks! For example, I use a moleskine sketchbook for most of my daily drawing. This is a thinner paper, which means that my really thick alcohol markers are going to bleed through. I cant emphasize enough: the paper that you are using matters! I have multiple types of paper for different kinds of markers, and you should too.
Tip #2: Start lightly
Markers are really buildable. If you are using a low pigment marker, they are extremely buildable. Even with a high end marker, you can still get anywhere from 3-5 layers of difference in color.
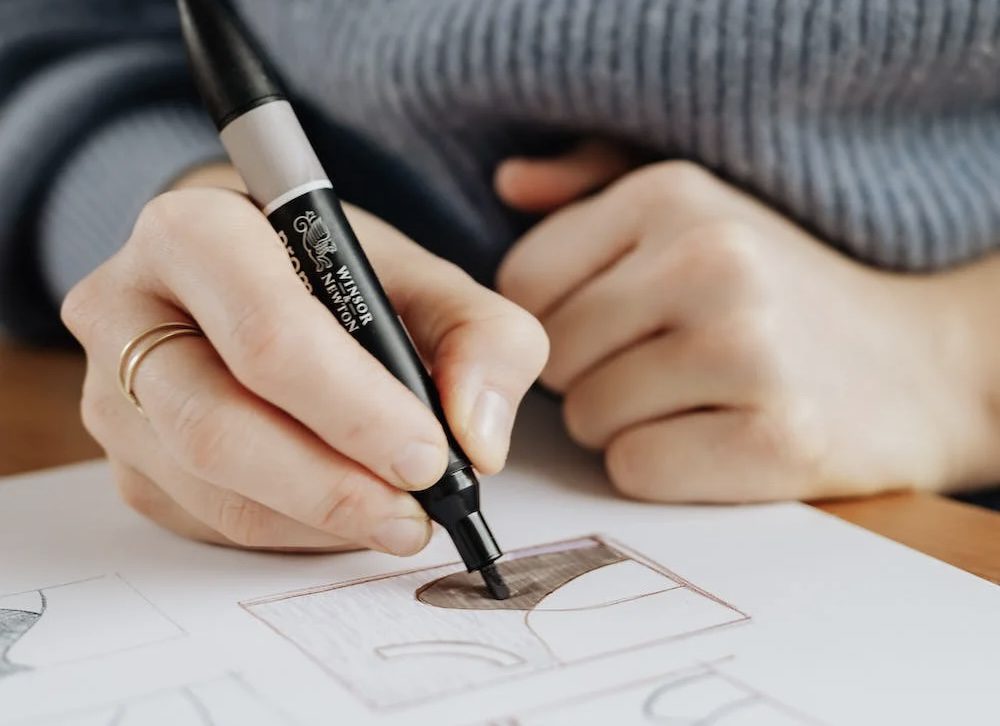
For example, I personally like to use a very light shade of grey (for cooler toned work) or a very light shade of cream (for warmer toned) to draw out my work before I go in with other color. This just helps me to get my first layer of marker down without it greatly affecting my work with a permanent dark shade.
When you are starting a piece, make sure to lightly capture certain areas that you might want very dark later on. This gives you a good base for differentiation in value without messing with the tones later on. Light initial sketching helps you establish the correct shapes, proportions, and placement of elements in your drawing. It allows for more precise and controlled marker application, ensuring that your lines are accurate and in the right position. It’s easier to make adjustments to a light sketch than to correct inaccuracies in marker lines.
Unlike pencil or graphite, markers are not easily erasable. Once you apply marker ink, it’s challenging to remove or modify it without leaving visible traces. Starting lightly with a pencil sketch allows you to erase or adjust any mistakes or unwanted lines before adding the permanent marker lines.
Tip #3: Layer and blend colors
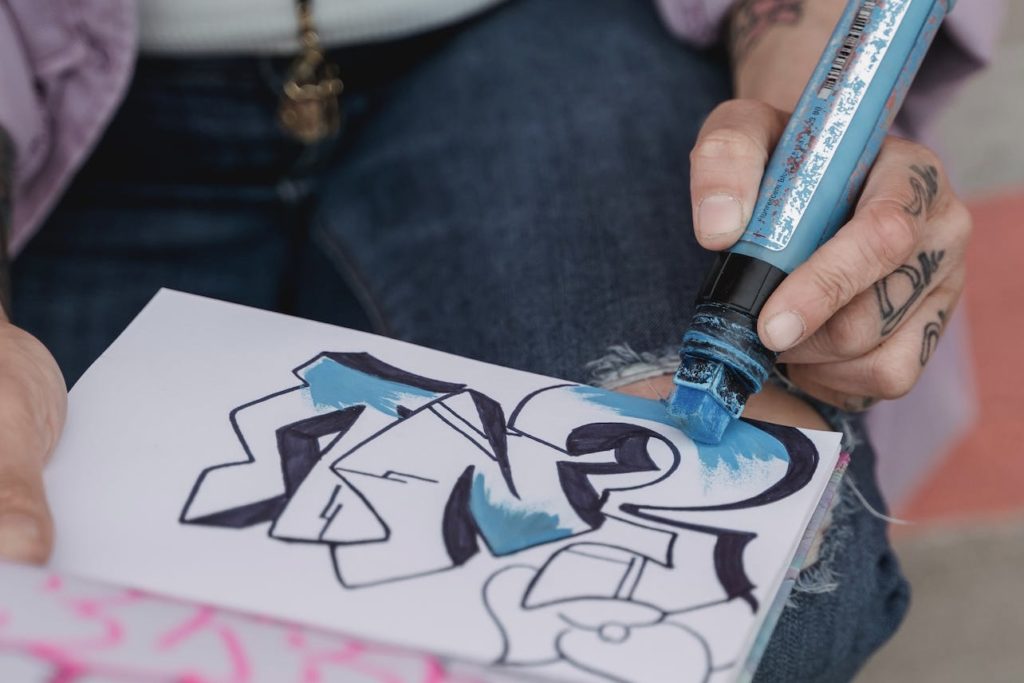
Layering and blending with markers can greatly enhance your artwork by creating depth, dimension, and a wide range of colors and effects. By applying multiple layers of the same or different colors, you can build up the richness and vibrancy of your artwork. Layering is especially effective with transparent or translucent marker inks, as each layer adds to the overall hue and depth.
By overlapping or merging different colors, you can create seamless transitions from one color to another. By applying darker colors or shades in specific areas and lighter colors in others, you can create the illusion of shadows, highlights, and three-dimensional forms. Blending is particularly useful for creating realistic shading, highlighting, and subtle color variations in your artwork.
Sometimes, I even like to go over almost the whole piece with a completely different color, like red over a blue drawing just to warm it up. The options are endless!
Layering and blending markers can also be used to create various textures and effects. For example, by stippling or cross-hatching different colors, you can achieve a textured or stippled appearance. Additionally, you can experiment with different blending techniques, such as using a colorless blender marker or using the markers themselves to blend colors directly on the paper, to create unique effects and textures.
Tip #4: Control the markers saturation
Adjust the pressure you exert on the marker while drawing. Light pressure will result in a more translucent application of ink, allowing the underlying paper or previous layers to show through. This technique is useful for achieving subtle shading or creating a lighter overall appearance.
I learned the hard way how important it is to put the right amount of pressure on your marker. Markers, especially those with more liquid ink formulations, can bleed or feather if excessive pressure is applied. Bleeding occurs when the ink spreads beyond the intended line, while feathering refers to the ink spreading along the fibers of the paper. By using the appropriate pressure, you can minimize the risk of unwanted bleeding or feathering, resulting in cleaner and more precise lines.
You can also ruin the tips of your markers with too much pressure. Excessive pressure can wear down or damage the marker nib over time. Markers are designed to function optimally with gentle pressure. Applying excessive force may cause the nib to fray, deform, or lose its shape, affecting the quality of your lines. By using the right amount of pressure, you can prolong the lifespan of your marker nib and maintain its performance.
Tip #5: Add details with different marker sizes
One of my favorite touches to add to a marker piece is using different sized marker tips. A lot of nice markers, such as prismacolor sets that are double-sided. The thicker sized is great for coloring in and adding shading and light differentiation. Smaller marker sizes, such as fine-tip or ultra-fine-tip markers, allow you to create fine lines and intricate details with precision. These markers are ideal for adding delicate elements, intricate patterns, small textures, or precise linework to your artwork. They enable you to capture fine details that may be challenging to achieve with larger marker sizes.
Fine-tip markers are excellent for creating textured patterns, cross-hatching, or stippling techniques. Larger markers can be used to achieve broader strokes or fill larger areas more efficiently. By combining different marker sizes, you can create a variety of textures, from fine details to broader strokes, adding visual interest and enhancing the overall aesthetic of your artwork.
Using markers of different sizes provides a range of line weights, adding visual interest and dimension to your work. It’s a great hack to make your work look a lot more impressive as well!