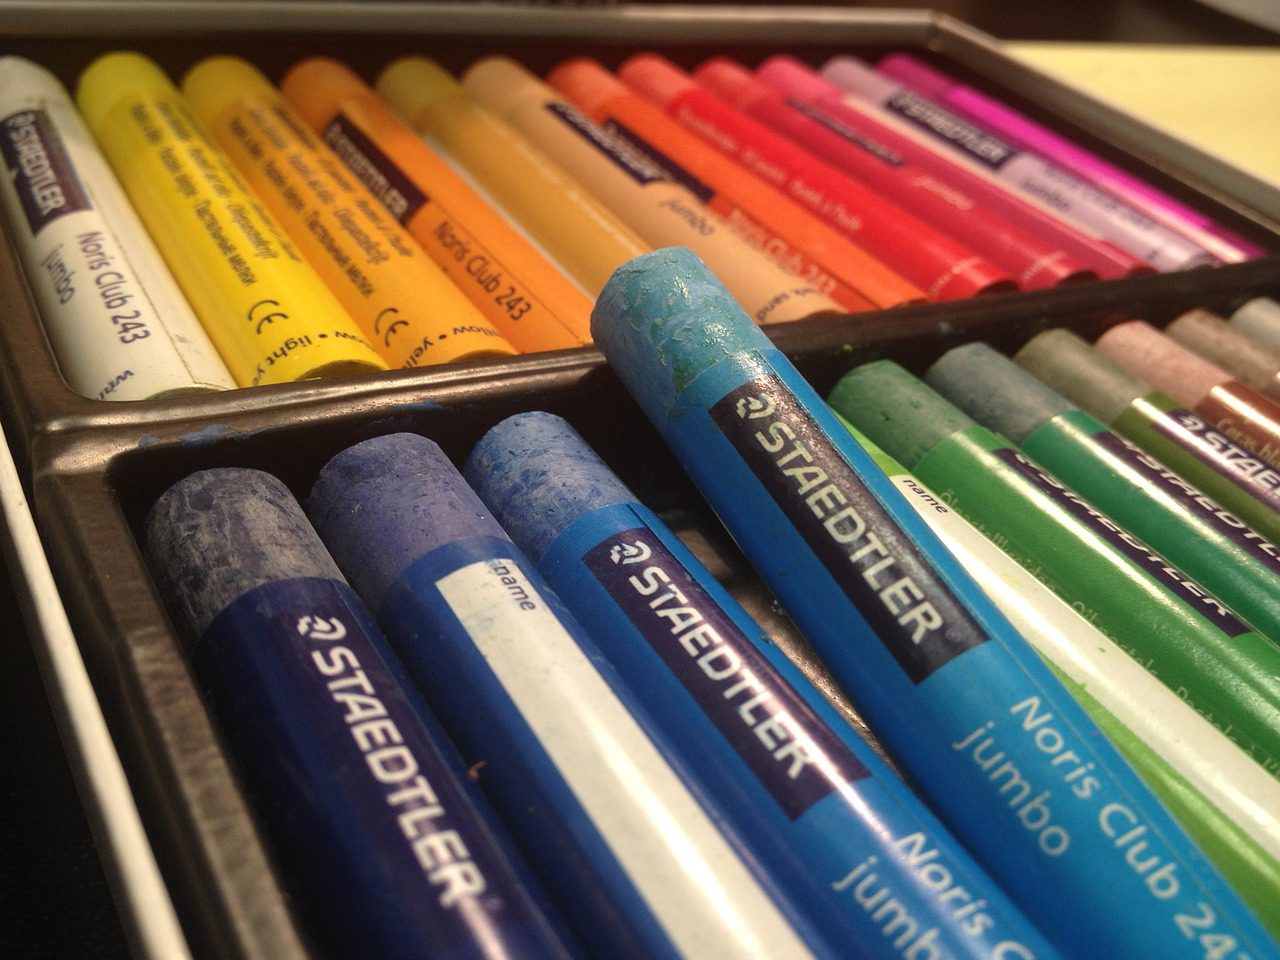
Oil pastel drawing is a popular, and newer, form of self expression. Oil pastels are thick and pigmented, making them a great choice for bold work. In this post, I will list the best tips for oil pastel art and its functionality, including some oil pastel artists to pay attention to currently on the internet.
I also have a post on oil pastel drawing for beginners. So if you are just starting out, I would recommend starting there!
Oil pastel drawing is a newer medium in terms of types of mediums. They were developed in the early 20th century, primarily in response to the limitations of traditional oil paints and soft pastels. The first commercially available oil pastels were introduced in 1925 by the French company Sakura. Also, under the brand name “Cray-Pas.” These early oil pastels were created by combining oil and pigment into a soft and stick-like form. The use of oil as a binder allowed the pastels to be more stable and less prone to crumbling like soft pastels.
They can be great for artists to work with because precision is often less necessary.
Layering
For an example of layering with oil pastels:
- Start with a light base: Begin by applying a light-colored oil pastel as your base layer in your oil pastel drawing. This provides a foundation for your artwork and helps establish the overall color scheme.
- Build up colors gradually: Layer different colors on top of each other to achieve the desired effect. Begin with lighter shades and gradually add darker colors. Apply each layer with a gentle touch, allowing the previous layers to show through. The transparency and opacity of oil pastels can create interesting color interactions.
- Experiment with different pressures: Vary the pressure you apply when layering oil pastels to create different effects. Light pressure will allow the underlying layers to show through, while heavier pressure can create a more solid and opaque appearance. Play around with different pressures to achieve the desired texture and visual impact.
- Consider complementary colors: Layering complementary colors (colors opposite each other on the color wheel) can create vibrant and dynamic effects. When layered, complementary colors can interact and intensify each other, adding visual interest to your artwork.
- Use thin layers for details: For fine details and intricate work, use thin layers of oil pastels. This allows for more control and precision in your strokes. It’s often better to build up the details gradually rather than applying a thick layer all at once.
Blending
For an example of blending with oil pastels:
- Use your fingers: One of the simplest and most effective ways to blend oil pastels is by using your fingers. First, gently rub and smudge the colors together, overlapping and blending them on the surface. Then, the warmth of your hands helps soften the pastels and allows for smooth blending. Lastly, remember to clean your fingers between colors to avoid muddying the colors.
- Blending tools: Various blending tools can be used to achieve different blending effects. Additionally, some commonly used tools include blending stumps, tortillons (rolled paper tools), cotton swabs, soft cloths, or even soft brushes. Experiment with different tools to find the ones that work best for you. Blending tools can help achieve more precise blending and create different textures and effects.
- Solvents: Solvents can be used to dissolve and blend oil pastels. Also, mineral spirits or turpentine can be applied with a brush or a cloth to the surface. This allows colors to blend and create a more painterly effect. However, use solvents with caution and in a well-ventilated area, as they can have strong odors and require proper handling.
- Color shapers: Color shapers, also known as color blending tools or silicon brushes, are versatile tools that can be used to blend oil pastel drawings. They come in different shapes and sizes and can create smooth blending effects. In addition, color shapers are particularly useful for blending small areas and achieving precise blending.
Sgraffito
For example, here is an 8-year-old student’s sgraffito in their oil pastel work:
- Apply a base layer: Start by applying a layer of oil pastel on your paper or surface. With oil pastel drawing, this will serve as the base color or colors for your artwork.
- Layer additional colors: Apply additional layers of oil pastels on top of the base layer. You can use different colors to create contrasts and build up the desired composition.
- Choose a tool: Select a tool for scratching or scraping. You can use a wooden stick, the edge of a palette knife, a toothpick, or any other sharp and pointed tool that won’t damage the surface. Experiment with different tools to achieve different effects.
- Begin scratching: Use the chosen tool to gently scratch or scrape the top layer of oil pastel. Apply varying pressure to create different thicknesses of lines or textures. You can scratch straight lines, crosshatch, or create patterns to achieve the desired effect.
- Reveal the base layer: As you scratch the top layer, the base layer will start to show through, creating a contrast between the two layers. This adds visual interest and texture to your artwork.

