
Drawing is a skill that is used universally, and has been used since the dawn of time. Learning to draw can be a difficult task to get started on, but getting over the hump can open so many opportunities. In this post, you will learn to draw in 30 days with a guided schedule to help you unlock your potential.
How Can Learning to Draw Help Me?
Many occupations and lifestyle choices can be enhanced with drawing. For example: blueprints, fashion, note-taking, mock-ups, presentations, and of course, traditional fine art. Because of this, there are many different types of drawing. In addition, there are differences between freehand drawing and guided drawing. Both are vital in different ways.
Depending on what you are interested in that pertains to visual art, both can be great. I recommend practicing with what you are interested in and finding a method that works best for you!
Your Drawing Schedule
As a disclosure, you should be dedicating a few days at a time to learning new techniques. This is because you need to develop consistency. Yes, its really cool if youre able to get a good result on the first try, but what about the second time? How do you know that you can replicate it exactly?
Day 1-3: Basic Shapes and Proportions
- Study the shapes: Spend time studying the basic shapes that become objects around you. Look at how circles, squares, triangles, and rectangles. How can they be combined to create more complex forms?
- Use reference images: Find reference images of objects or scenes that interest you. Practice sketching the basic shapes that make them up.
- Start with light lines: When sketching the basic shapes, start with light lines. This way, you can easily make adjustments as needed. Don’t worry about making everything perfect in the first try.
- Pay attention to proportion: Pay attention to the size and placement of each shape in relation to each other. This will help you create a more realistic representation of the object you’re drawing.
- Use a ruler or other tools: If you’re having trouble creating straight lines or consistent shapes Use a ruler. I even use sides of a notebook for a straight line.

Day 4-6: Perspective and Depth
- Understand the basics of perspective: Perspective is the technique of creating an illusion of depth and distance on a flat surface. There are several types of perspective. This includes one-point perspective, two-point perspective, and three-point perspective. Understanding these basics help you create more realistic drawings.
- Use a vanishing point: A vanishing point is an imaginary point on the horizon line where parallel lines appear to converge. In one-point perspective, all lines converge at a single vanishing point. Then in two-point perspective, lines converge at two vanishing points. Using vanishing points helps create the illusion of depth and distance.
- Establish a horizon line: The horizon line is the horizontal line where the sky meets the ground. It is essential to establish the horizon line in your drawing. This creates a sense of perspective.
- Use overlapping and size variation: Overlapping objects that vary in size also help create a sense of depth in your drawing.
- Experiment with shading and texture: Using shading and texture can help create the illusion of depth. This makes objects appear more three-dimensional.

Day 7-10: Anatomy
- Study the bones and muscles: Before you can accurately draw the human figure, it’s important to understand the underlying structure of the body. Study the bones and muscles of the human body. This develops an understanding of how they work together.
- Use reference images: Find reference images of the human body and use them as a guide when drawing. You can find photos of models or use anatomical charts and diagrams as a reference.
- Start with basic shapes: When drawing the human figure, start with basic shapes to establish the overall form and proportions. These shapes can be refined as you add more detail and complexity.
- Pay attention to proportion: Pay attention to the proportions of the body, such as the size of the head in relation to the rest of the body, the length of the limbs, and the size of the hands and feet.
- Add detail gradually: Once you have established the basic shapes and proportions, begin adding details to the drawing. This can include muscle definition, facial features, and clothing.

Day 11-15: Still Life
- Choose your subject: Select objects that you would like to draw and arrange them on a table or other surface. You can choose a variety of objects such as fruits, flowers, books, and vases.
- Set up your lighting: Position your still life under a light source that will create shadows and highlights on your subject. This will help create depth and dimension in your drawing.
- Draw the basic shapes: Begin by sketching the basic shapes of your objects. Use simple shapes to establish the overall form of each object in the still life.
- Add details: Once you have the basic shapes, start adding details to your drawing. This can include texture, shading, and highlights.
- Pay attention to composition: Consider the composition of your still life. You can use the Rule of Thirds to create a visually balanced composition.
- Continue refining your drawing: Keep refining your drawing until you are happy with the final result. Pay attention to the small details and make adjustments as needed.

Day 16-20: Landscapes
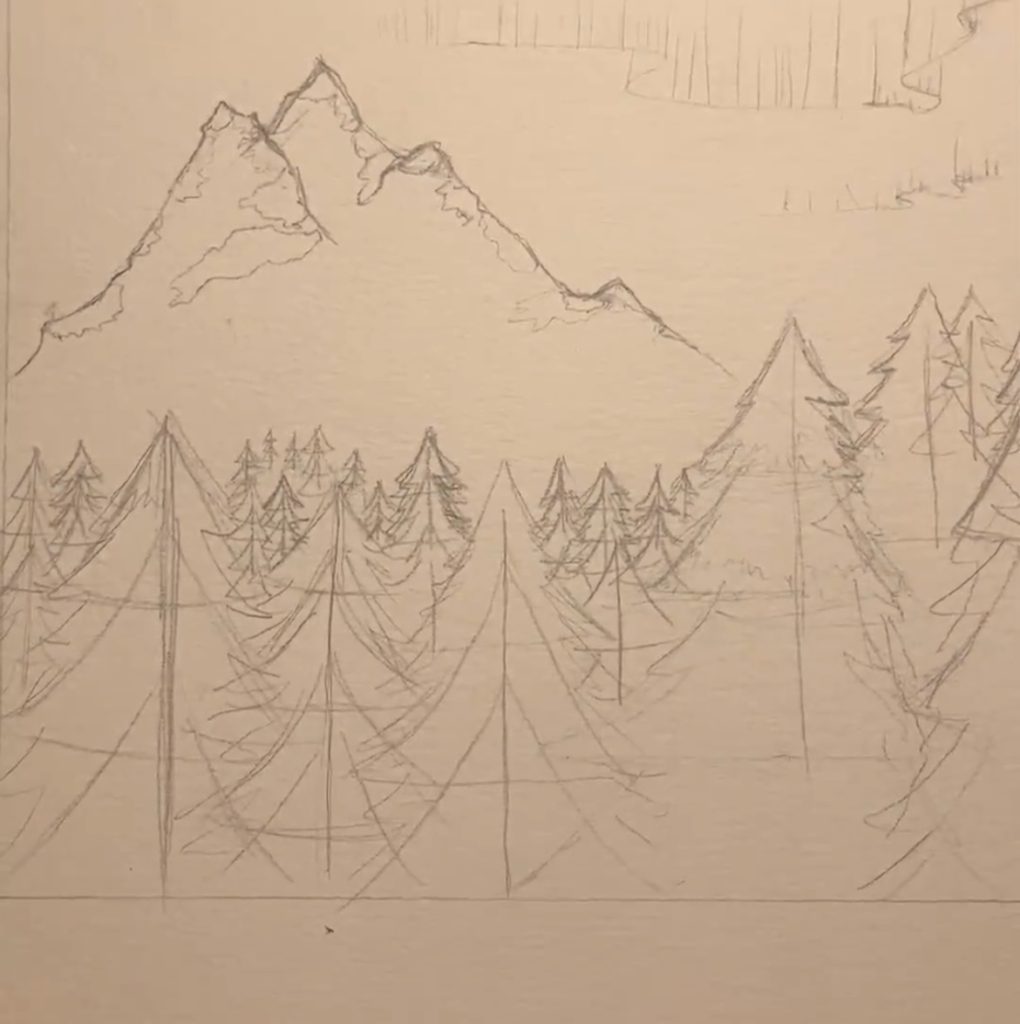
- Choose your subject: Select a landscape that you would like to draw. This can be a real-life location or a photo that inspires you.
- Establish the horizon line: Draw a line across your paper to represent the horizon line. This line will help you establish the perspective of your landscape.
- Draw the basic shapes: Begin by sketching the basic shapes of the landscape, such as hills, mountains, trees, and water.
- Add details: Once you have the basic shapes, start adding details to your drawing. This can include texture, shading, and highlights.
- Pay attention to perspective: Consider the perspective of your landscape. Use techniques like atmospheric perspective to create depth and dimension in your drawing.
- Use color: Consider using color to bring your landscape to life. Experiment with different color palettes to create the mood and atmosphere you want.

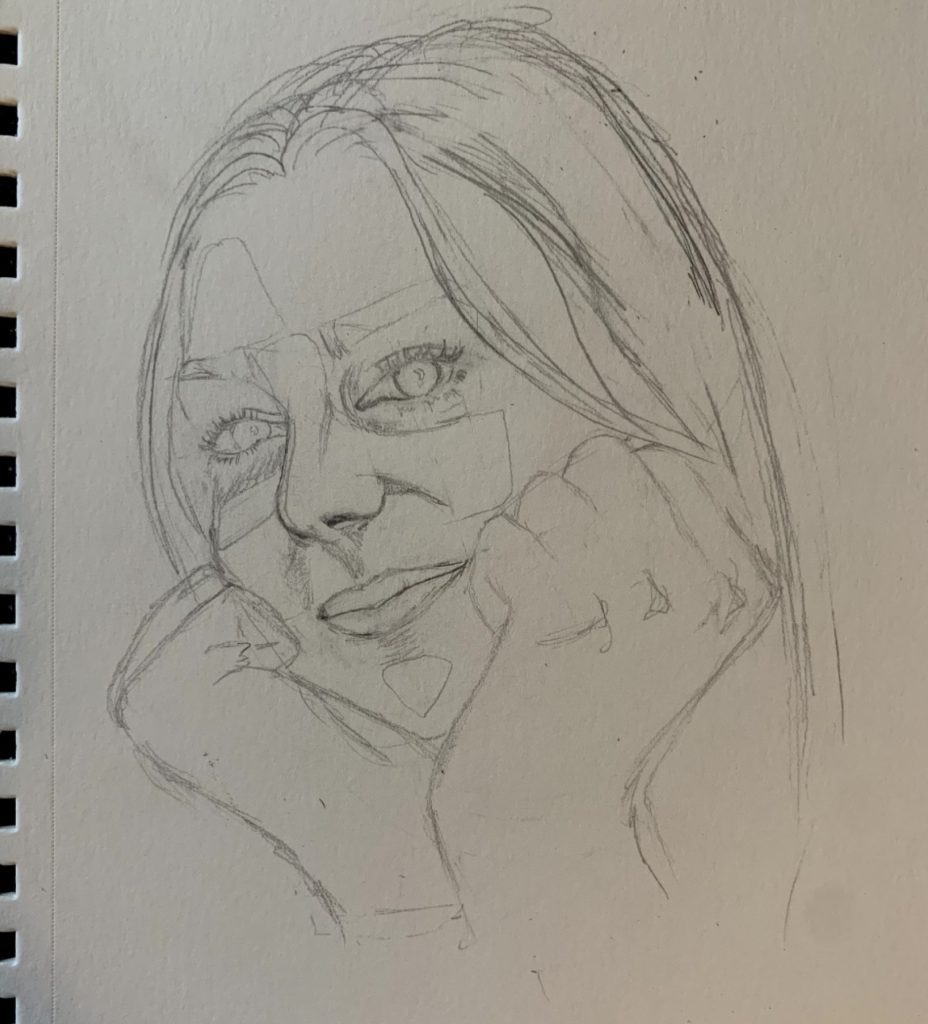
Day 21-25: Portrait Drawing
- Choose your subject: Select a person to draw, either from a photo or in real life. It’s important to choose a subject that you are interested in and that has distinct facial features.
- Start with basic shapes: Begin by drawing the basic shapes of the face, such as the head, eyes, nose, and mouth. This will help you establish the overall proportions of the face.
- Add details: Once you have the basic shapes, start adding details to your drawing. Pay close attention to the unique features of your subject’s face, such as the shape of their eyebrows or the curve of their lips.
- Pay attention to lighting: Consider the lighting in your reference photo or in real life. This will help you create depth and dimension in your drawing.
- Use shading and highlights: Use shading and highlights to create the illusion of depth in your drawing. Pay attention to the direction of light and shadows on the face. I have an article on mini portraits which is step by step and especially helpful for lighting and shading.
Day 26-30: Self-Directed Project
- Choose a theme or subject: Select a theme or subject that interests you. This could be anything from animals and nature to cityscapes and portraits.
- Gather your materials: Next, get all the necessary materials, including pencils, erasers, paper, and any other materials you may need.
- Research and plan: Do some research on your chosen theme or subject. Then, this will help you develop a plan for your drawing and gather inspiration.
- Sketch your ideas: Begin by sketching out your ideas on paper. This can be done in rough sketches or detailed drawings.
- Refine your drawing: Once you have a basic idea of what you want to draw, begin refining your drawing. Then, you can pay close attention to details and use shading and highlights to create depth and dimension.
- Experiment with different techniques: Don’t be afraid to experiment with different techniques and styles. Try using different pencils, colors, and mediums to create a unique and visually interesting drawing. For example, I have done neo-expressionism in my portraits as well as fine art.