
I have been photographing my paintings for social media, and sell-able prints, for a few years now. Actually, you can take really great photos with just an iPhone! In this post, I will offer a few tips that I have learned that aid the process on photographing paintings.
For full disclosure, I am offering this information as a painter on canvas, paper, and wood with acrylic, gouache, and oil paints.
Lighting is VERY important in photographing paintings
Lighting is one of the most important tools in photographing paintings. If the lighting is only coming from one direction, the grains of the canvas or texture of the paint will heavily shadow. Here is an example:
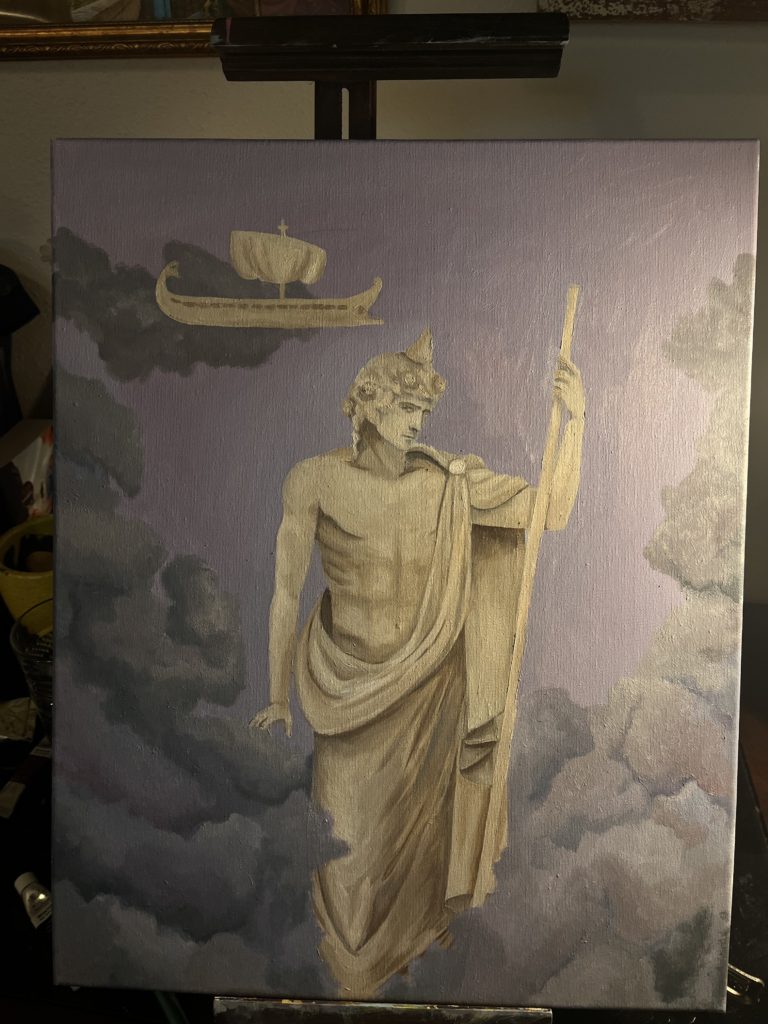
As you can see, the lighting is only coming from one direction. You can clearly tell the side that the light is coming from, and it also doesnt look like natural lighting. It looks much to yellow, and definitely not natural in general.
You can visibly see the texture of the paint on the canvas. The values on the left side of the picture is much darker so you cannot see the true contrasts of the painting. This means that when you are trying to make prints, it will show as very grainy and not true to the original colors.
The lighting you want for your photographs is natural lighting. Not only do you not have to purchase any extra lights or set up a studio, but it will be evenly lit on the whole canvas for the photos.
How do I photograph paintings in the correct lighting?
For a budget friendly solution, that honestly works much better than studio lighting, is just going outside. The best lighting I have used is overcast, becasue it creates a desired haze to the lighting that isn’t too harsh. However, just about any daylight works just fine as long as it is not really harsh rays.
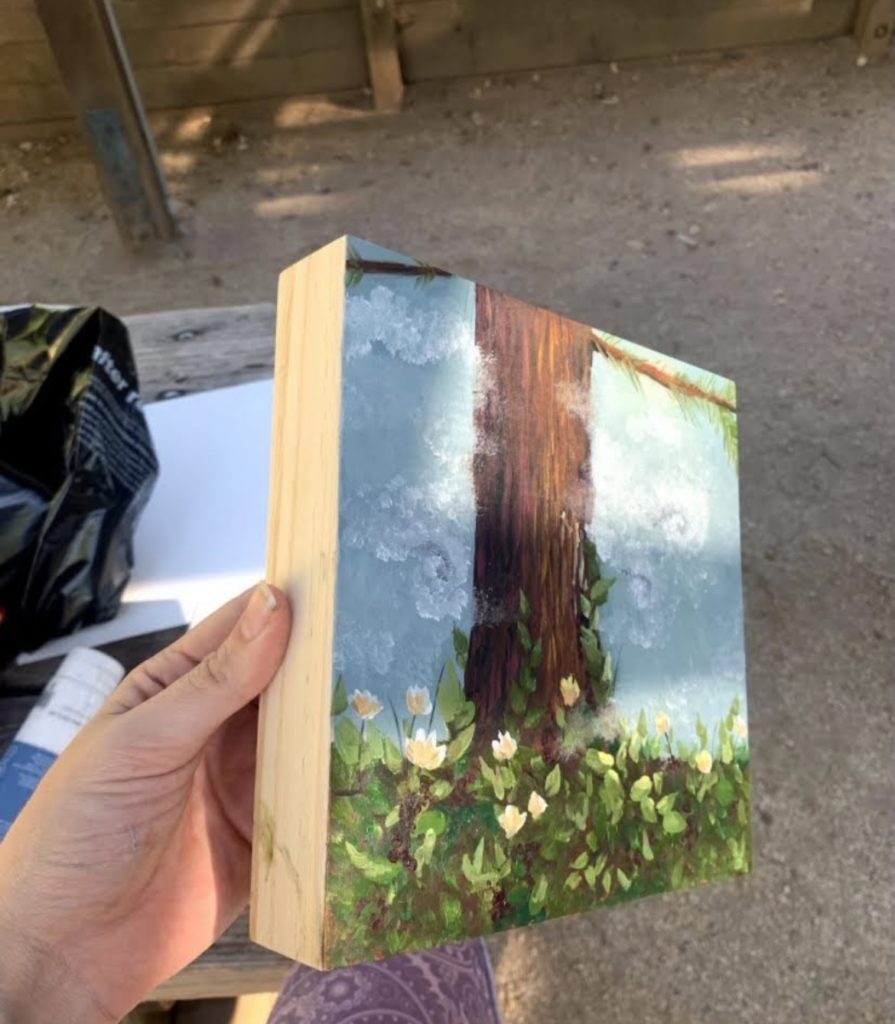
Here is an example for how the harsh rays of sunlight can affect the colors on a painting:
Make sure that the angles are lined up with the edges of the phone screen
Make sure that your phone has the edges of the canvas lined up evenly (so that its not at an angle)
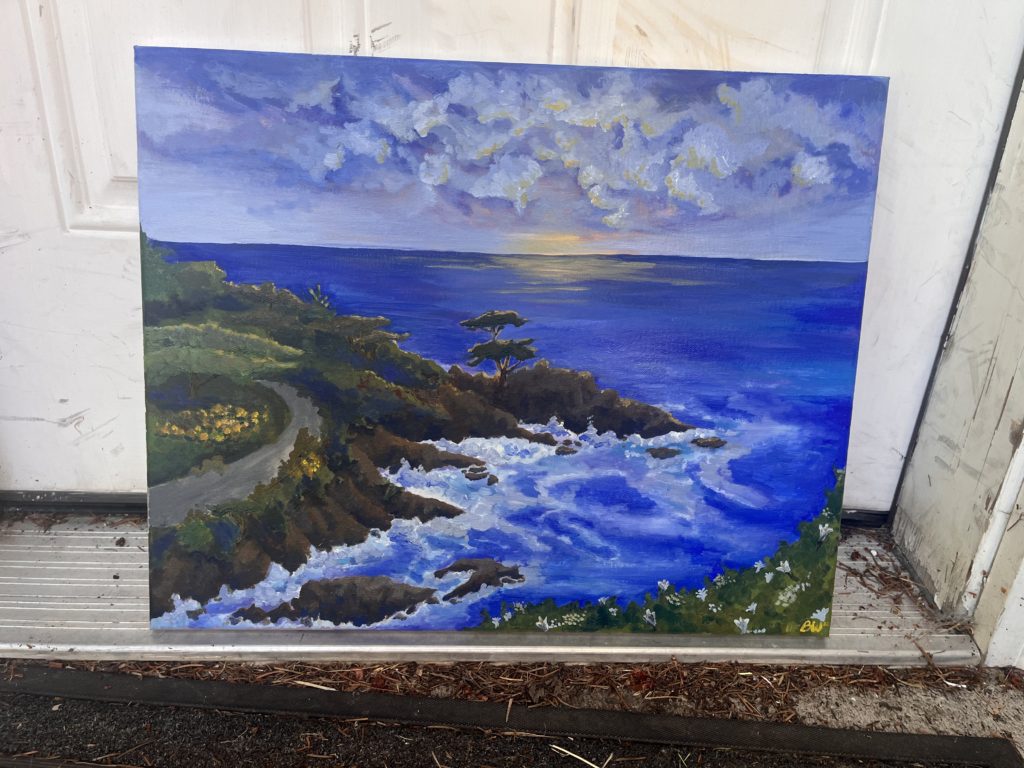
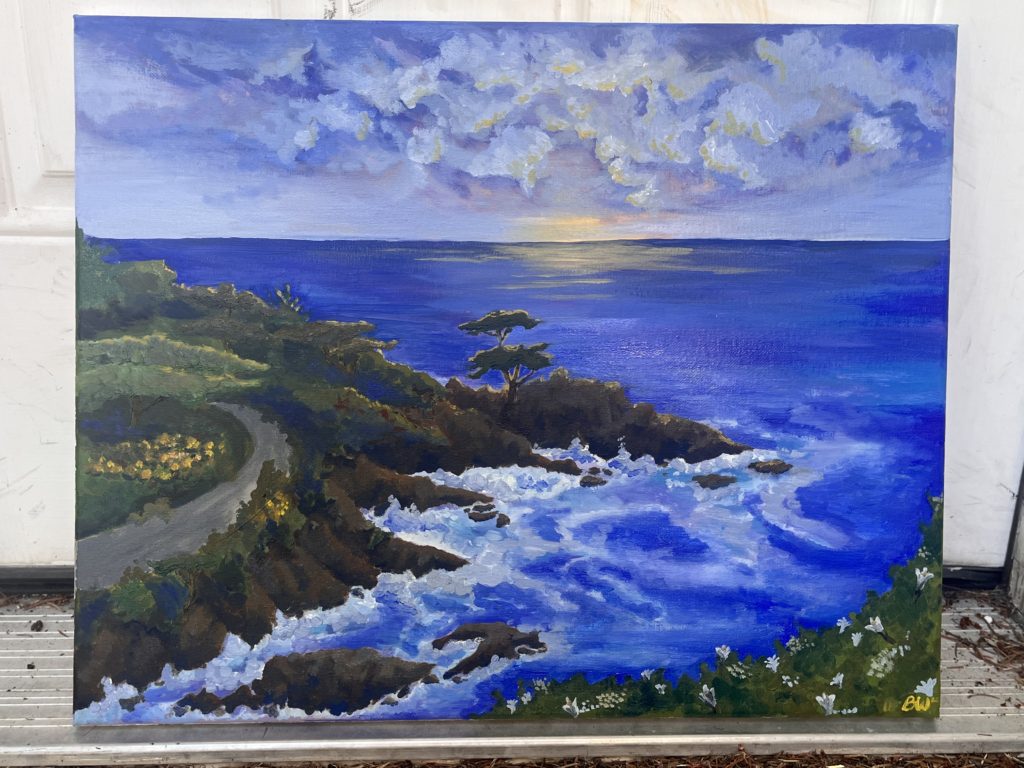
Look at the difference between the picture above and the picture below. Lining up the camera with the angles of the canvas makes cropping afterwards that much easier. It also makes the dimensions accurate.
If you are using indoor lighting, make sure that you have it coming from multiple directions
When you are photographing indoors, make sure that the lighting you are using is coming from all angles. This will make it so that the photo does not have any glare because it is trying to correct all of the harsher lighting.
If you use lighting that is too white, it will make the colors dulled out. If you use too warm of lighting, it will make everything have a yellow tint. The way that you can tell when the lighting is accurate is if the colors on your screen look the most accurate to how they are in real life.
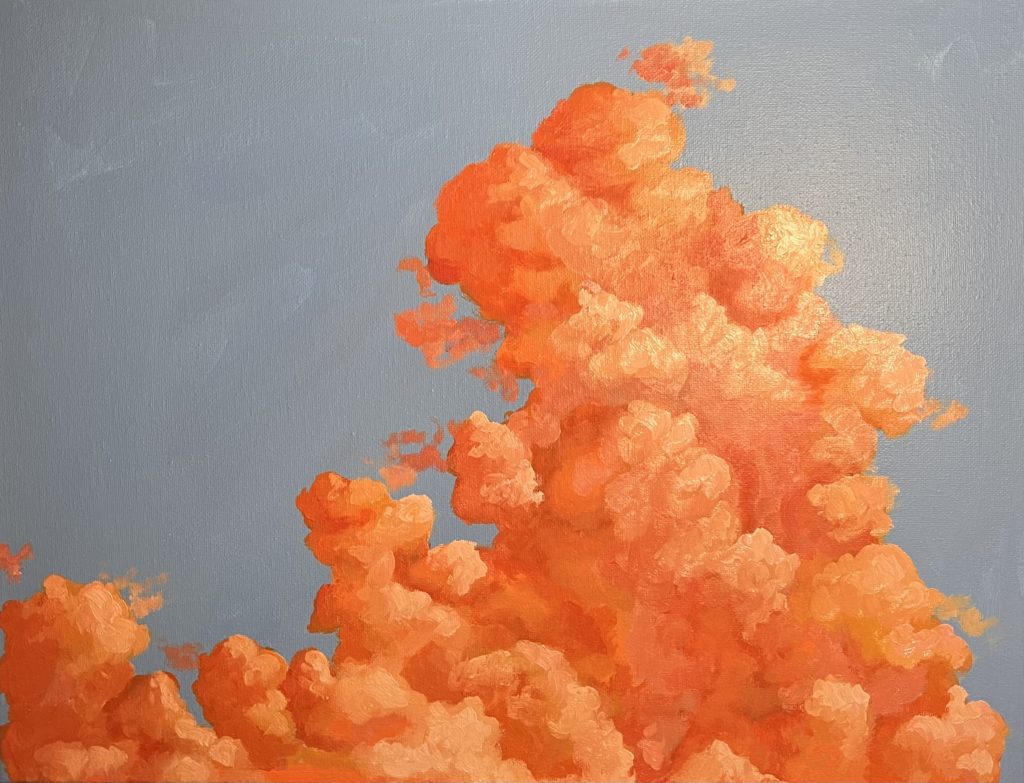
Look in the photo above how harsh lighting, from one side of the canvas, can affect the colors indoors. For the right top section of the cloud, you cant even see the color scheme except for the texture.
While all of the background is painted the same shade, in certain places, it looks lighter and darker than others because of where the lighting is coming from.
Make sure you are not zooming in on the camera
The further you zoom in on a smartphone camera, the more pixelated the photo can be. If you are wanting to use these photos for prints, do not zoom in! If you print out the image to blow it up, it could come out more grainy and pixelated.
Operate in high resolution for after you photograph paintings
Make sure that when you are taking photos and transferring them to be blown up in a poster/print that they are In high resolution! This means that you want a high DPI, around 300. The reason why is because they can be sized up without having to worry about it coming out blurry or pixelated.
You can change the DPI of your photo on procreate.
Comments are closed.